An old family photograph gives you several things to save: the picture, any writing on the back, and what someone remembers about it.
You can digitise old photos with a phone, a scanner or a specialist service. The best starting point is a small set you would like to look through with your family. Get those copied and labelled before tackling every album in the cupboard.
Here is how to choose a method and keep the story with the picture.
Start with one album or a small pile
Choose a set you can finish in a sitting: a wedding album, a holiday, or photographs of the first family home.
Keep their existing order while you work. If they come from an album, photograph the whole page as well as individual pictures. The arrangement and handwritten captions may help explain them.
Set aside anything torn, brittle, stuck down or difficult to handle. You can photograph it in place, or ask a photograph conservator about it. Leave attached tape and stuck photographs alone rather than trying to pull them free.
Which method should you choose?
| Method | Useful when | What to check |
|---|---|---|
| Phone camera or scanning app | You want to start with a few prints, or photograph an album without taking it apart | Glare, shadows, sharpness and whether all edges are visible |
| Flatbed scanner | You have loose prints that can lie flat safely and want consistent copies | Resolution, file type and whether you have captured the whole print |
| Scanning service | You have a large collection, slides or negatives, or would prefer someone else to handle the copying | Handling, return of originals, file quality, labelling and where the work happens |
Try a few photographs first and look at the results on a larger screen. A small trial is easier to check than several hundred files.
Option 1: use your phone
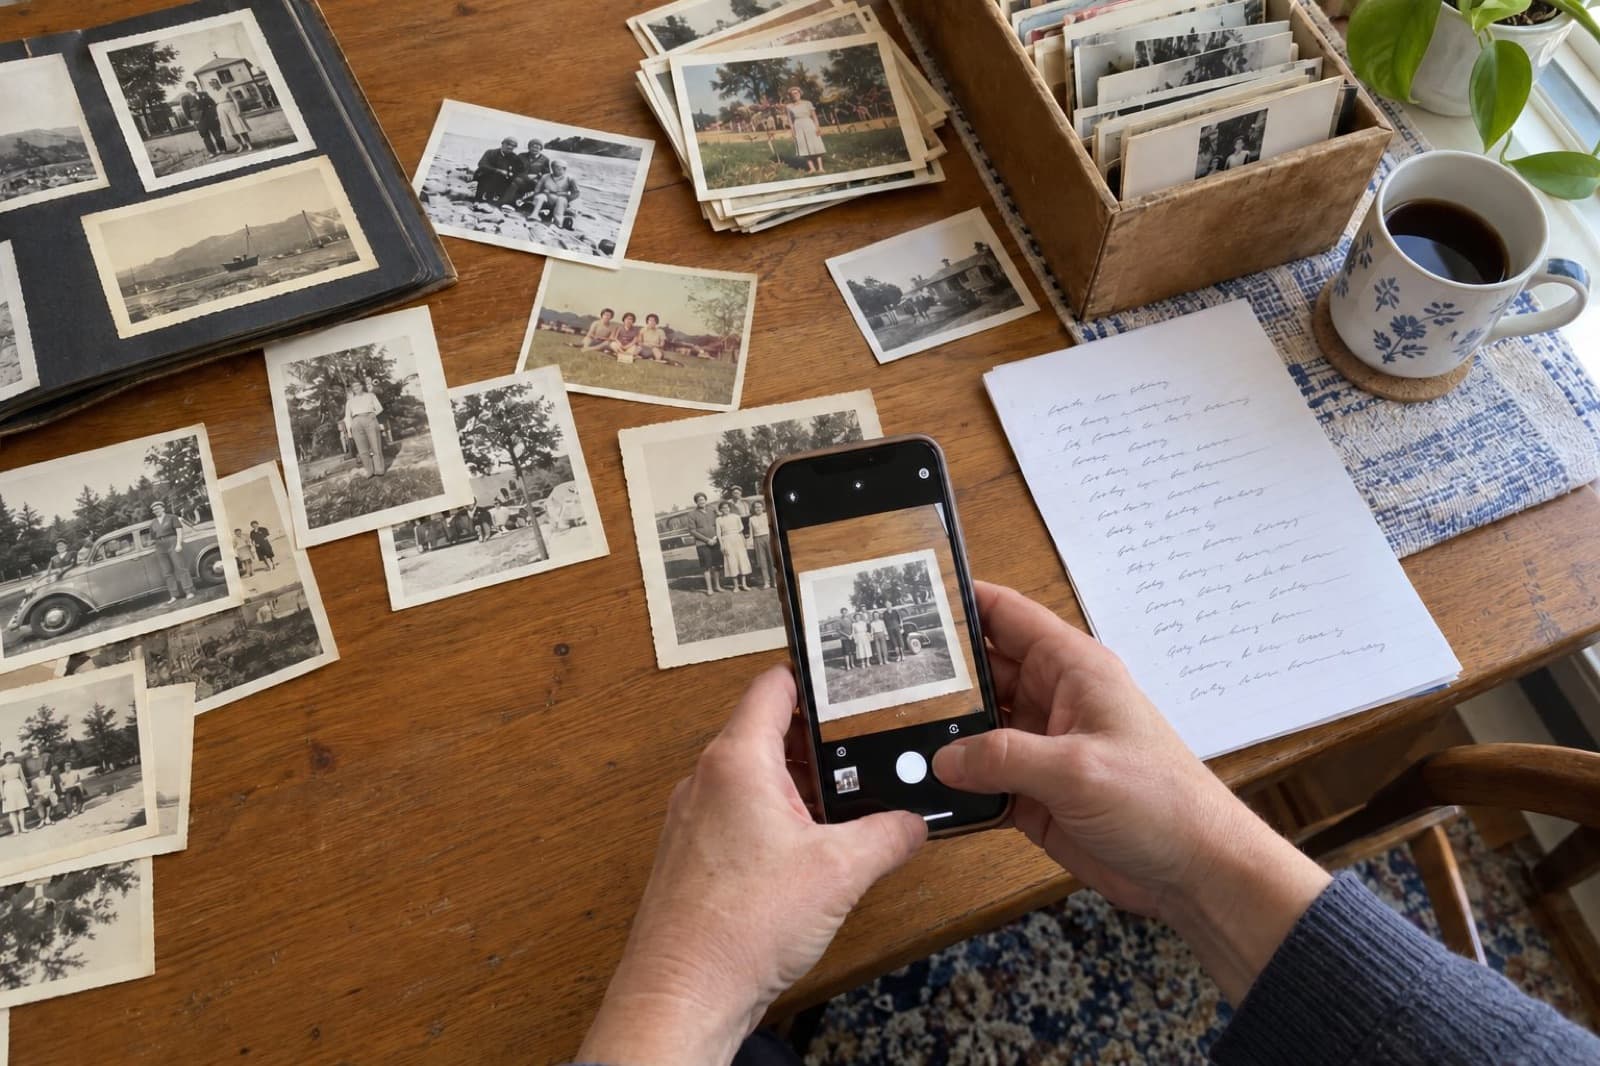
Start with the camera you already have. Put the photograph on a stable surface and hold the phone parallel to it. Use even light, clean the lens and check that your hand or phone isn't casting a shadow.
Take a picture, then enlarge it on the screen. Can you see the faces clearly? Have you cut off an edge? Is a bright reflection hiding part of the image?
If the print is glossy, change the position of the light or photograph. Take another copy and compare them before continuing.
A scanning app can help with glare and corners. Google's PhotoScan asks you to take an initial picture and move the phone over four points. Its glare-removal mode combines the captures; you can then adjust the corners. Google recommends keeping the phone level and placing the print on a contrasting surface. Follow the PhotoScan instructions, while leaving stuck or fragile photographs in place.
On an iPhone, the built-in document scanner also works. It straightens and crops a flat print, and is handy for the writing on the back. Apple's help page explains how to scan with the Notes or Files app.
Photograph the back separately if it has writing on it. Keep the front and back together when you name the files.
For a framed picture, first try photographing it without opening the frame. If reflections prevent a useful copy and you are unsure how it is mounted, a specialist can help.
Option 2: use a flatbed scanner
A flatbed scanner can be useful for loose photographs that lie flat without pressure. Check the scanner's instructions, clean its glass as directed and make a preview scan.
Choose the resolution for what you want to do with the copy. The Library of Congress gives 300 dpi as a general setting for ordinary 4 × 6 or 5 × 7 inch photographs, and 400 or 600 dpi for enlarging them. Its scanning guide explains these settings.
For a small print you want to crop or enlarge substantially, test a higher optical resolution and compare the detail. A higher setting makes a larger file; it cannot recover detail that the original never contained.
Keep a master copy. Save the best useful scan before cropping or changing its colour. A high-quality JPEG is convenient for sharing. TIFF is another option where your scanner supports it and you want a lossless file.
Make edits on a separate copy, and keep any writing or border in the master. If you restore an image or change its appearance, label the edited version so nobody mistakes it for the original scan.
Slides and negatives need a suitable setup. An ordinary scanner used for printed photographs may not have the equipment needed to scan film. Check the manufacturer's instructions or ask a scanning service. Keep the film with any envelopes or notes that identify it.
Option 3: use a scanning service
A local specialist may let you hand over the collection in person. A mail-in service may be convenient for a larger batch. Before sending anything, make an inventory and photograph how the collection is organised.
Ask these questions:
- Will you handle this type and condition of photograph?
- Where will the scanning happen, and will another company handle the originals?
- What resolution and file format will I receive?
- Can you scan the backs where there is writing?
- Can you preserve the order and match each file to the original?
- Will you leave the images unaltered as well as supplying any restored versions?
- How will the originals be packed and returned?
- What happens if something is damaged or a file is missing?
- How long will you retain the digital copies after delivery?
Ask for a sample from a small batch before committing the whole collection. Check the returned files and originals against your inventory.
Keep the names and stories with the pictures
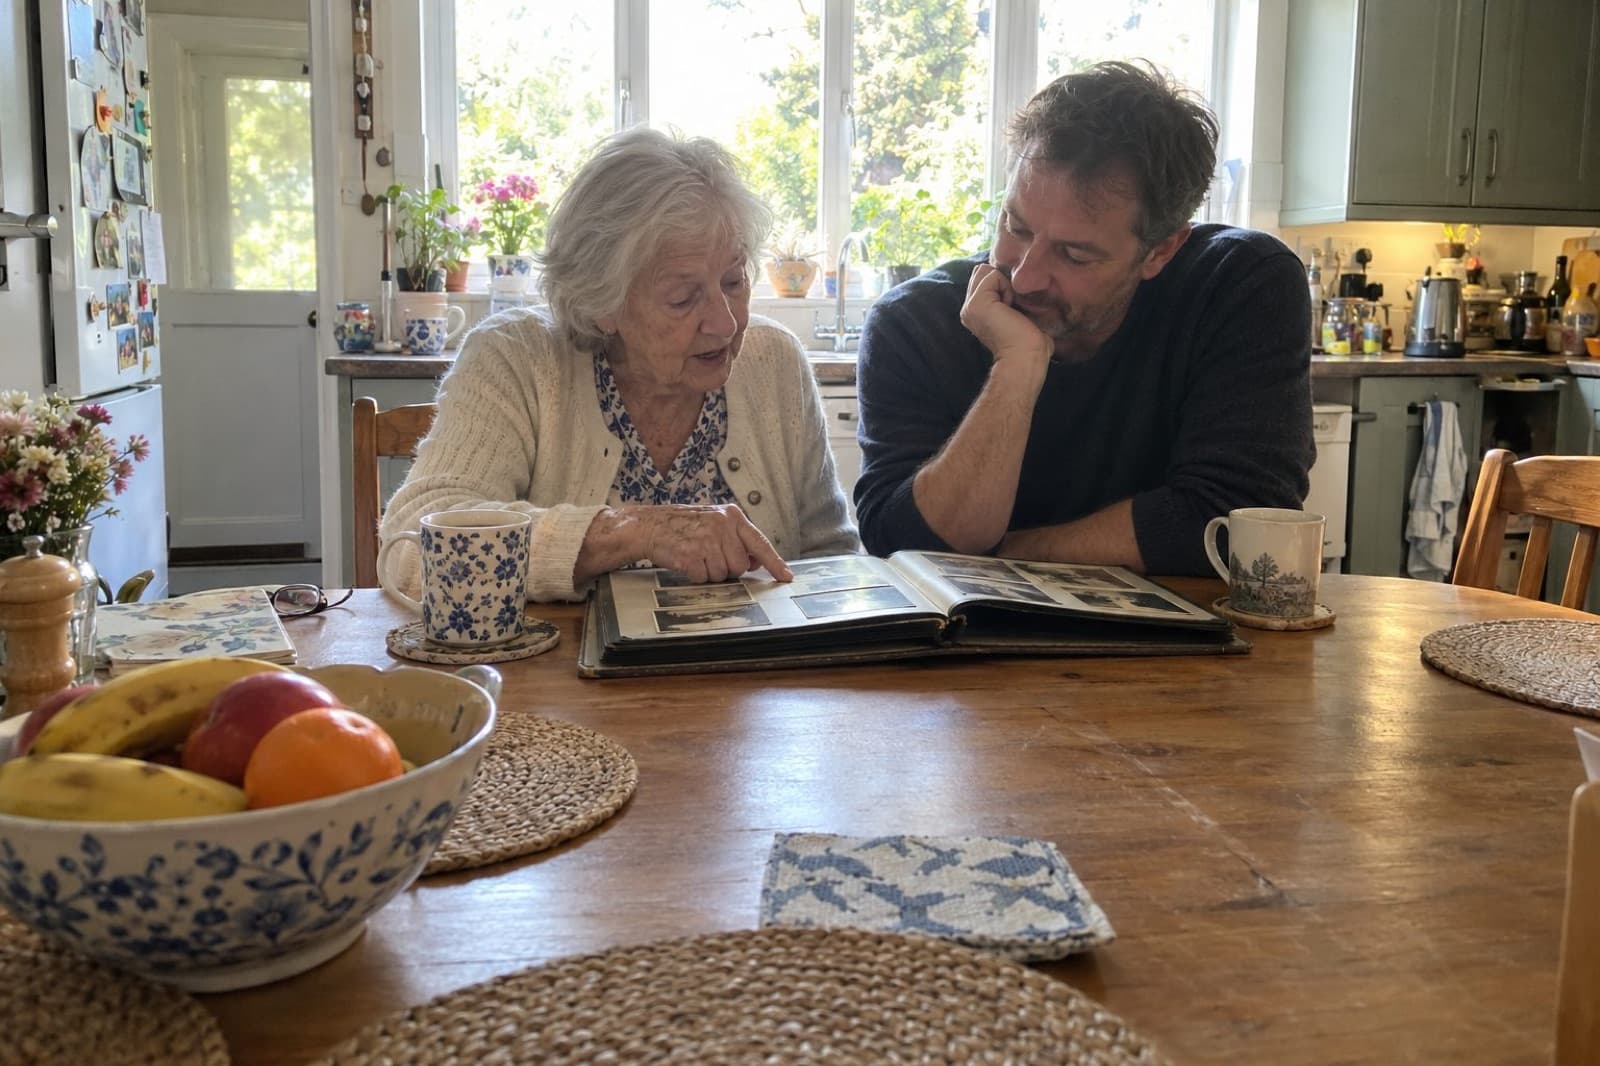
Once you have a few copies, look at them with someone who knows the people.
Ask who is there, where they were and roughly when. Then give them time to talk about the occasion. “What happened just before this?” or “Who took the picture?” may bring out something you would not know from looking at it.
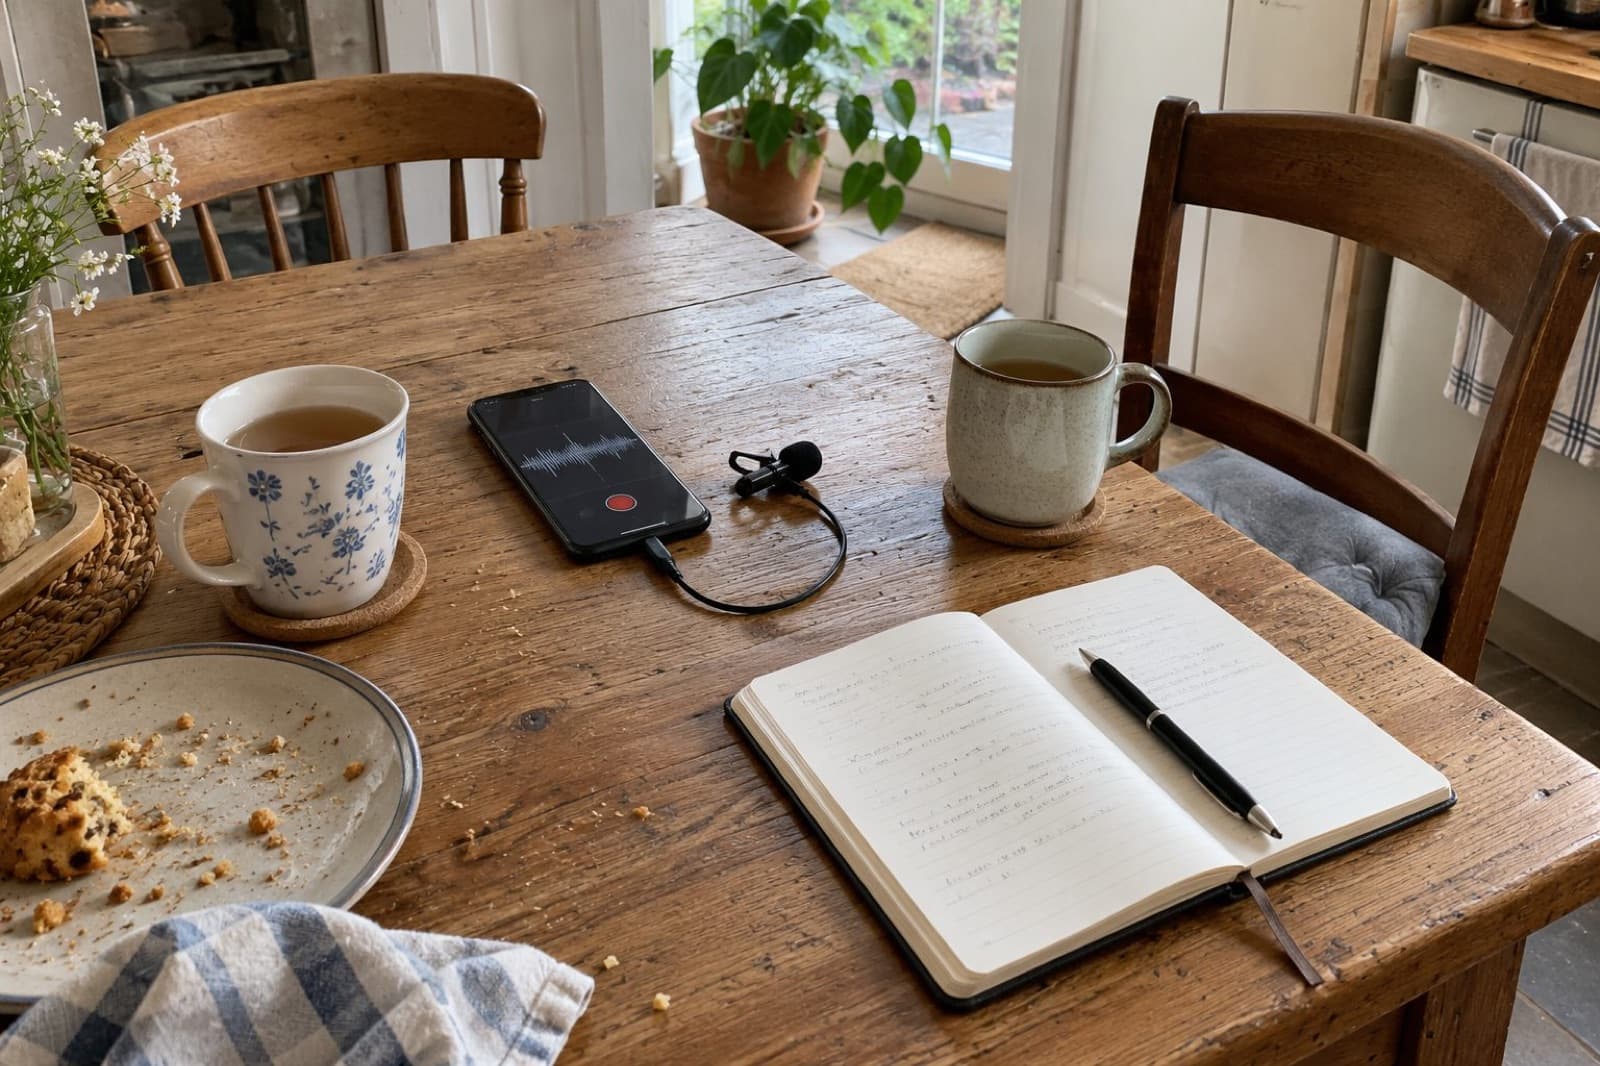
If you want to record the conversation, ask first. Agree who can hear it before sharing.
A simple list beside the photographs is enough to begin. Give each image an identifier, then record:
- People: names and, if useful, relationships.
- Place: as precisely as you know it.
- Date: exact or approximate, clearly marked.
- Story: a few lines about what was happening.
- Source: who identified it, and which album or box it came from.
Keep uncertain details uncertain. “Probably 1964; identified by Mum” is more useful than a confident date nobody can explain.
Name the files consistently
Use a short pattern that makes sense to your family. For example:
1964_circa_garden_001_front.jpg
1964_circa_garden_001_back.jpg
This is an illustrative filename, not a real family photograph. The word “circa” makes the estimated date visible. If the year is unknown, use “undated” rather than guessing.
Put the same identifier, such as “garden_001”, in your caption list. Names can stay in that list if the filename would otherwise become unwieldy.
Check captions when you export. A caption visible in a photo app may not appear in every exported file or sharing method. Apple Photos on Mac, for example, offers an option to export assigned photo information and keywords as a separate metadata file when you export an unmodified original. Apple explains the export choices here.
Export one photograph first and open it outside the app to check what has survived. Keep a separate text document or spreadsheet of captions alongside the images, even if you also add them in an app.
Keep copies in more than one place
Keep the master images and caption list together in a clearly named folder.
Have a working copy and a separate backup you can restore from. That might mean a computer plus an external drive stored elsewhere, with an additional cloud backup if you use one.
Check that the backup contains the full-size files. A shared album or a folder that synchronises deletions is not necessarily an independent backup.
Open a few files from each copy periodically, and check that you can still find their captions. When you change devices or storage services, confirm the transfer before removing the old copy.
Keep the originals too
Put the prints back in a safe order. The original may contain detail, handwriting or context that your copy missed.
The Library of Congress's photograph-care guidance recommends a cool, relatively dry, stable environment and suitable protective enclosures. Keep photographs away from direct light, leaks and areas with large changes in heat or humidity.
Write identifiers on a suitable sleeve or accompanying sheet if you are unsure about marking a print. Photograph conservation depends on the material and its condition; get specialist advice for anything fragile or valuable.
A useful first afternoon
Choose ten photographs. Copy the front and any writing on the back. Ask who is in them, write down what you learn and save a separate copy of the files.
You will have a small collection the family can find, understand and return to. The next album can wait until you are ready.
If you would like us to do the asking and the writing, you can request a portrait.

Alastair is an experienced researcher and interviewer, and leads every Remarkable Lives conversation himself. He lives in Gothenburg.